Wednesday, July 30, 2014

Border print Bonus!

 One day at work I was eating my lunch, minding my own business, and I saw these two fabrics beside each other.  I though hmmm.....and then a light came on.  These would make a great table topper.  I don't know about you, but I kind of get into decorating for fall. So here's how I made this work.  Sorry there isn't a finished picture of the project, I just got too excited to post this.
 I'll tell you how I did this, but you may want to make changes with your border and center fabric.  I used 1 yard of border fabric and 1 fat quarter for center.  The center is the leaf fabric.  First of all, take a good look at your border fabric, and decide how wide you want to make this be, once its finished, and what part do you want to touch the center. For this application, I wanted there to be some white or orange touching the center fabric, so that how I cut it.  I also used a 1/4" seam allowance throughout.
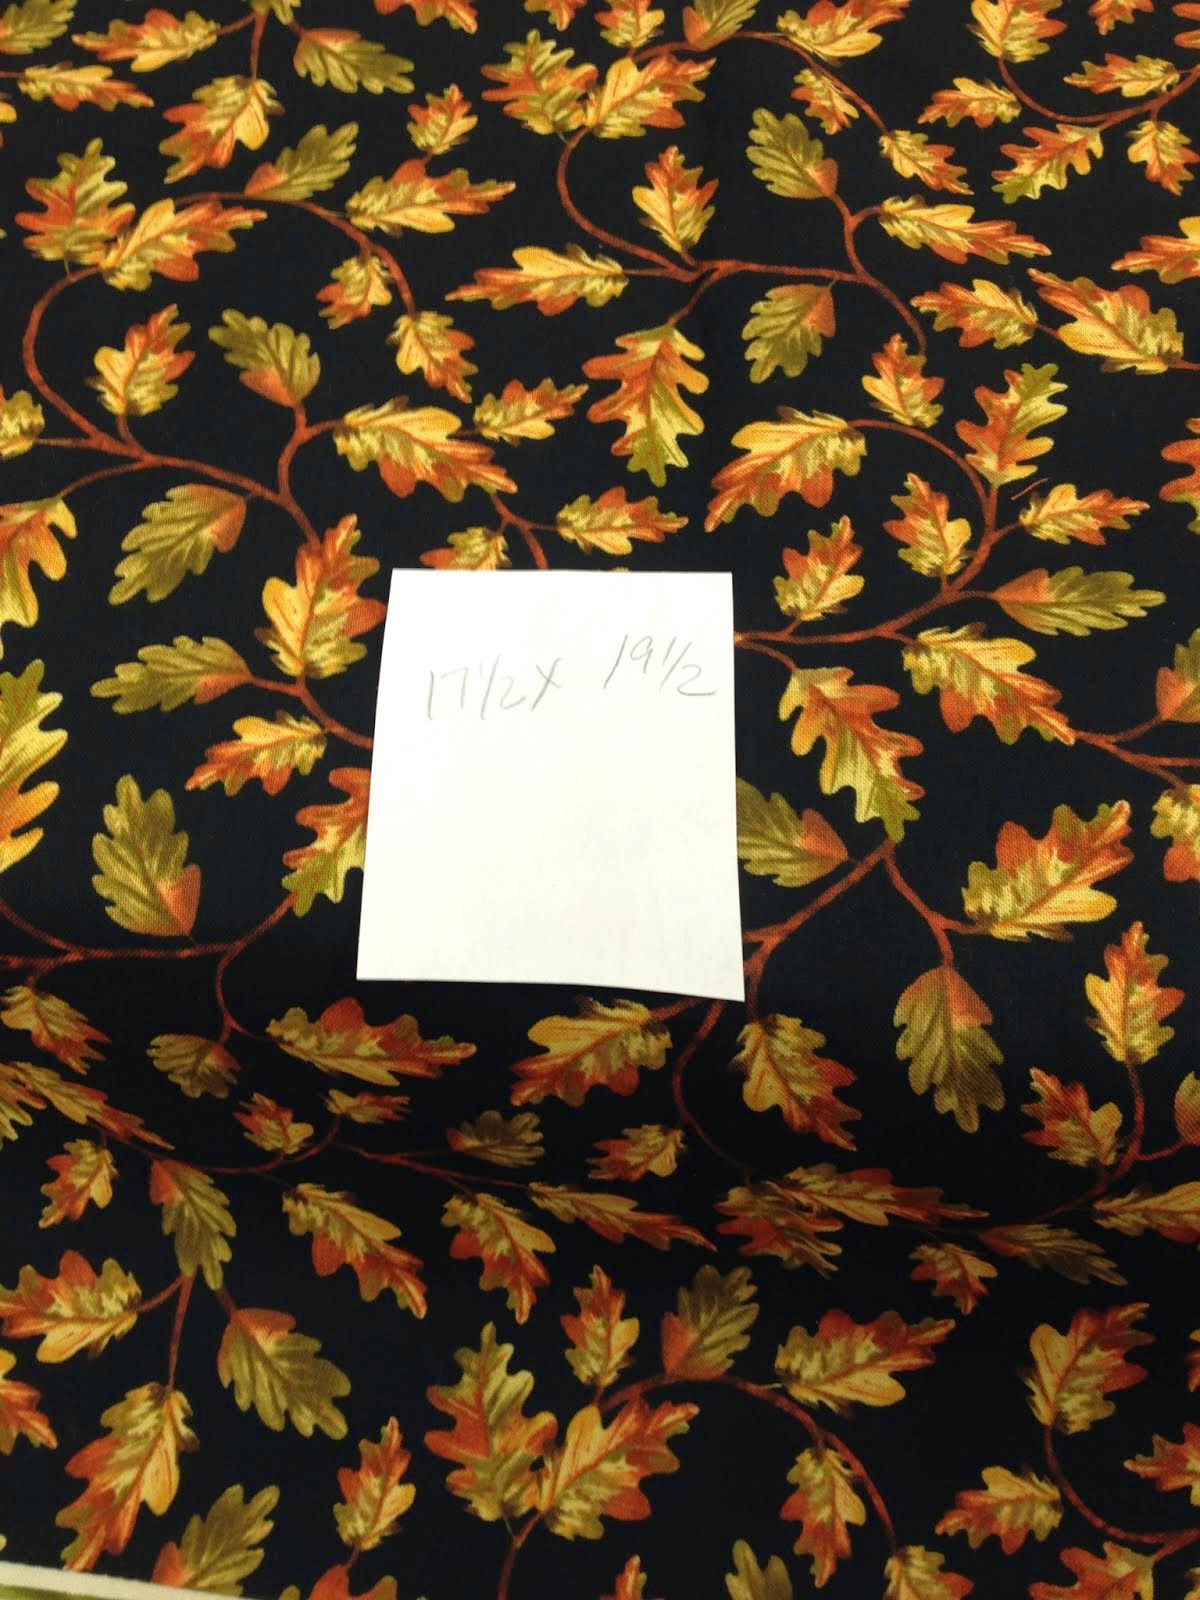
 So here's my fat quarter, I cut it to be 17 1/2"x 19 1/2".....why I don't know, I just got lucky with these numbers and how my border worked out.  Math genius, I am not.
 This picture is better in showing you how you can play with your borders and plan what touches what.
 You will need to find the middle of the 17 1/2" side - I marked mine with a pin.
 Here I'm getting the border ready, I marked where I wanted the seam to go..
 And cut off the excess
 Now mark the middle of this piece as well. Begin and end your sewing 1/4" from end. Repeat this process with all four sides. It might look funny, but we will be doing mitered corners. Be careful to do an exact 1/4" from each end.

 When I had my sides all sewn, I trimmed the excess off the outer border.
 So, this is what we want our mitered corners to look like.  See how pretty!  I actually folded from the front, so I was sure I was getting the corners going how I wanted them to. 
 This is what the back side looks like, if you are good and have done this before, you will know how to fold this and you won't need to peek on the front side. If you lay your work to make a triangle, your border pieces will lay across each other in the corners,  This picture kind of shows you that.  Using a 45 degree line, draw a line from the corner of your center to the outer edge of your border, here is where you will sew. You will do this to all four corners.
This is a close up of how the border and the center sewing turned out.  Layering the batting and backing I machine quilted a 2" grid in the center of the topper.  I cut 3" strips for my binding and sewed that on my machine.  You could hand quilt the center if you liked. It isn't necessary to quilt this, you could also finish the edge, or sew a backing on by just sewing it on right sides together, leaving room for turning, and turn it right side out.  Hopefully this helped you get ideas.  My miter corner pictures aren't the best so you can check out videos on Youtube if you like.

Wednesday, April 30, 2014

Burlap ideas

 Sometimes when you work with burlap, you get a small piece left over, and it seems like such a waste to just throw it away.  So here's what we did with some, just to give you ideas.
 Find a shape you would like to use to form your burlap over, and cover it with plastic wrap. We used a pottery bowl.
 Now, take some white glue and thin with water.  I think it was more glue than water, you could use Mod Podge, if you liked.
 Make sure your fabric is bigger than the area of the bowl that you want to cover.
 Using a foam brush-apply the glue mixture, making sure that you use plenty of the glue mixture.  This is what's going to give the bowl its shape. Use a rubber band to help hold the burlap to the shape you are using. You may need to gentle add tucks to your burlap, so it will look nice when dried,  Fiddle with the edge until you are happy with how it looks.
 Allow this to dry. Overnight would be great. The cut away the extra part that you don't want.
And here you go, some sweet little containers for plants, candles, ....well you get the picture.

Monday, March 17, 2014

Paint a Bottle

 Here is something you may want to try.  I was really surprised at how nicely they turned out!  Ok, getting ahead of myself.  So let's start at what you will need.  You are going to need some glass bottles, colors of acrylic paint of your choice. Time and patience!
 What usually happens when I want to do a blog post is, I get so excited about what I am going to do, that I forget to get the pictures going.  I will try to do better at that, but here is an example of what you might choose.  These are small bottles, so use whatever ones you like.  I did wash the bottles first before I did anything else.  Some of them were kind of stained, and I wasn't sure how that would work, but it covered it up. I'm guessing how well they stained were covered and the colors of paint that I used were good for covering that up.  So you may have to play around with this for what you may do.
I began by thinning the paint, just a little.  The pink was pretty runny, so I didn't water that one down at all.  I poured some into the bottle and began turning the bottle and watching the paint cover the inside of the bottle.  I kept adding paint, as needed, to cover the whole inside of the bottle.  I laid them on their sides to dry.  I think they would look nice with some burlap flowers inside, or maybe some silk flowers.  Or maybe you'd like to see them on your window sill.  Hope you have fun making bottles whatever color you need them to be.

Thursday, March 13, 2014

Stitch magic

 This post is about using a great product that will make your stitching so much easier. If you have ever wanted to do some stitching and had a very complicated design, you know it can be very time consuming to transfer that design to whatever you are stitching on to.  Especially, when you do your stitching on to, like our example, a black background.  This pattern was one done by Kathy Schmidt.
 There are several product out there, but the use of them is similar.  The one is Sulky and the other is Transfer-Eze.  So let's begin on the use of these products.  You will need a sheet, or sheets that cover your pattern design, a copy machine, and whatever you plan to do your stitching on to.  (fabric)  For our example we used a black cotton fabric and white DMC floss to stitch with.
 Since I started stitching this design, the pattern has been discontinued by the store that I purchased it from.  So for example, I used a different pattern.  You will need to place the pattern on your printer and know which side the paper side of the product is.  You will need to follow the manufactures directions.  But so you know what we are talking about, the product peels away from itself and is similar to a paper towel. 
 So when you have your pattern copied on to the product, you peel the design away from the paper, and place it on your fabric for stitching.   It is kind of sticky, but not so much so that you only have once chance to get it on straight. 
 Once you have the product with the design on it stuck to your fabric, you are ready for stitching.  You can see here that our design was bigger than just one sheet, so we needed to use two.  We overlapped them and did the stitching.
Here's an up close of what the stitching looks like.  When you are done the product is water soluble. I had a picture of this and it got erased, sorry.  But trust me it works!  You will need to put it in a bowl of water for about 5 minutes.  I washed my stitching after I was done with this last step.  I'm still looking for a frame to put it in. So I can't show you it framed yet.  Its a work in progress!  So next time you have a stitchery or embroidery that you would like to have an easy way to get your pattern to fabric, you may want to give this a try.

Tuesday, February 11, 2014

Ready to dye?

Sometimes when you are getting ready to do a craft, you can't find the right material to use. You can find the fabric, but not the color you would like it to be.  So don't forget there are many things you can do to fabric to change the color.  In the background of this bunny is white plush felt.  White felt/fur is pretty easy to find, getting it in colors? that's another thing.  Didn't really want the bunny white, so I coffee stained the felt and got the color I liked.  I did the same thing with the cotton that was used for the body as well.  After I finished this one bunny, my husband suggested bunnies in other colors for Easter.  Wait....what?  It was a good idea, and then came the use of Rit dye.
 If you didn't know there are different kinds of dye and the have different purposes.  There are dyes that are intended to be used with plant based fibers and ones that you would use with animal based fibers.  For example, you wouldn't want to use Rit dye (dye intended for plant based fibers) on wool (animal based fiber)  Hope this isn't confusing, just thought you would want to know.  Actually, I should say, I couldn't guarantee what kind of results you would get.  I had done some work with Rit in the past so it wasn't my first time using the product.  I would recommend the liquid dye, it is more expensive, I think a $1 more for liquid then powder, but it doesn't like undissolved dye spots on your fabric.  I wanted the plush felt pastel looking in color, so I went easy on the dye in the water.  I added hot water to my kitchen sink, its the easiest to bleach clean, you will want to think about how much water you will need to cover your material.  I used about 12", so I didn't need much water, probably a gallon at the most, and about 1-2 T. dye.  I soaked the fabric in the dye solution for about 30 minutes.  Because I knew these rabbits weren't going to be washed I didn't cold water rinse the fabric.  I rung it out by hand and allowed it to air dry.
Here are the colors I ended up with.  Sorry there aren't bigger pieces for you to see the colors better.  In my excitement to see the finished bunnies, I quickly cut them out.  But the results were a soft pink, blue, yellow and , of course, lavender.  Hope this makes you want to try your hand at using dye.

Thursday, February 6, 2014

Where do ideas come from?

 This was a Christmas card that my daughter got this past year, she loves birdies. I thought this would look good on a towel.
 So I picked out some fabrics and drew out some birds.
 Here's kind of what I kind of came up.  I picked out which bird and which wing I wanted on each piece of fabric.  You will need to iron Wonder Under or some other fusible web, onto the wrong side of the fabric.  Then take your pattern piece, and place it on the paper side of the Wonder Under, and trace this design.  Cut this out.

 Here you can see the bird and the fabric through the Wonder Under.
 You will need to take the paper off the back of the bird.  I like to use a pin to help with this.  Put the birds on the towel and iron them into place.  I machine stitched around the edge of the birds and the wings, you could do this by hand if you like.  You can add whatever else you would like. 

Tuesday, February 4, 2014

Take an idea and run with it

 Sometimes some one else does a turn on your post - amps it up a level and its just too cute not to share.  So, in a previous post we took a pop can and turned it into a scoop and a candle holder.  Painted it and added some spice.   How about a soup can that you paint and add a candle and a pick to the top?  How cute is that!
 Here is a salt dough bowl, that wasn't painted.  The 'fabric' pieces are salt dough that has been painted and then several sewing items are placed in the bowl. This one is my personal favorite, gift from a friend!
Remember the snowman bowling pin?  This is a bowling pin that was covered with wrapping paper that looks like sheet music.  What would we do with out Mod Podge?  Hope this inspires you to try something new today!